


component checklist:
- Tent with attached webbing straps and groundsheet
- Tent bag
- Rubber mallet
- Full set of steel pegs
- Manual Air Pump
- x1 Flexi pole for canopy
- Instruction manual
- Spares bag
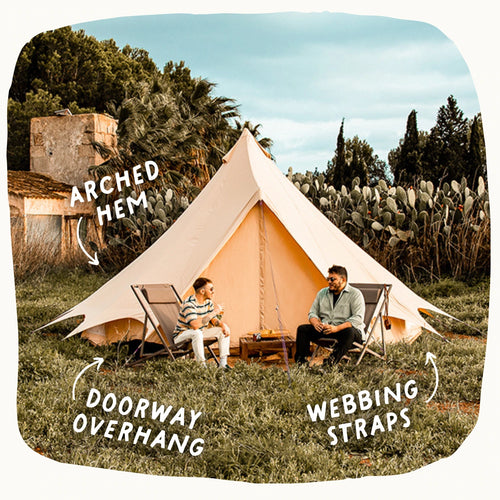
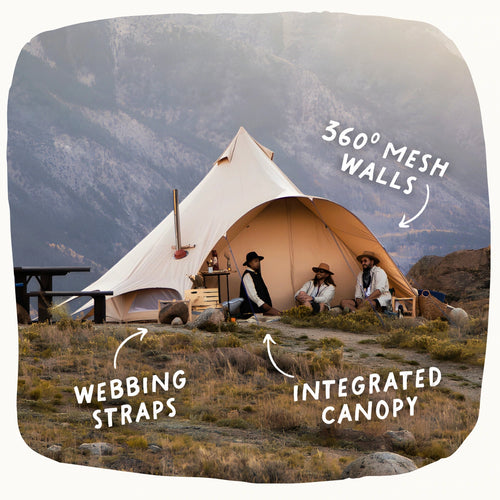
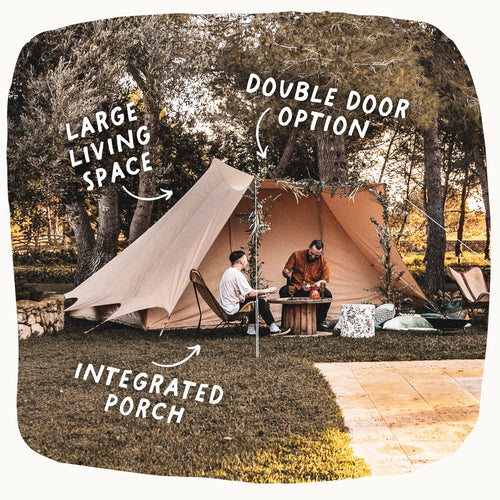
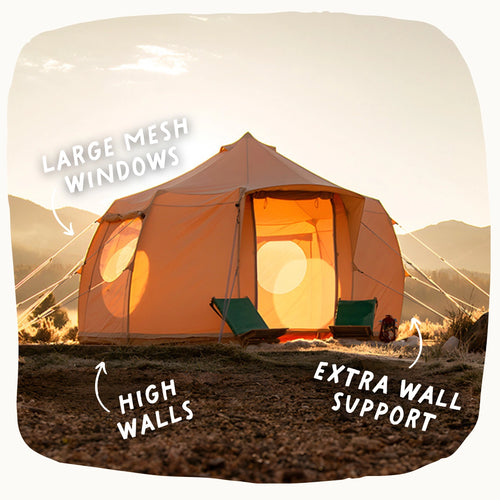
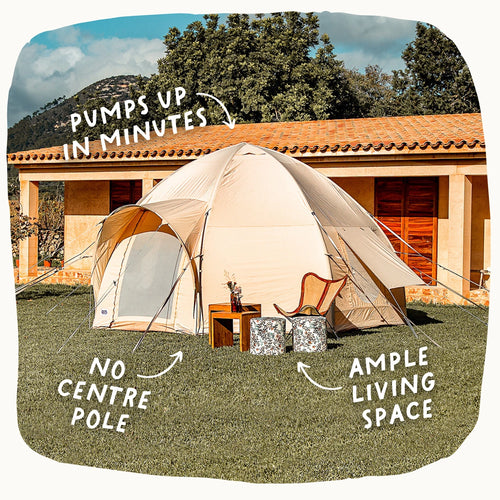
get to know your nova air dome
At Boutique Camping, our tents come equipped with a range of features meticulously crafted to enhance your outdoor living moments. The better acquainted you become with these attributes, the more enjoyable and comfortable your camping adventure will be.


plot preparation and pitch perfection
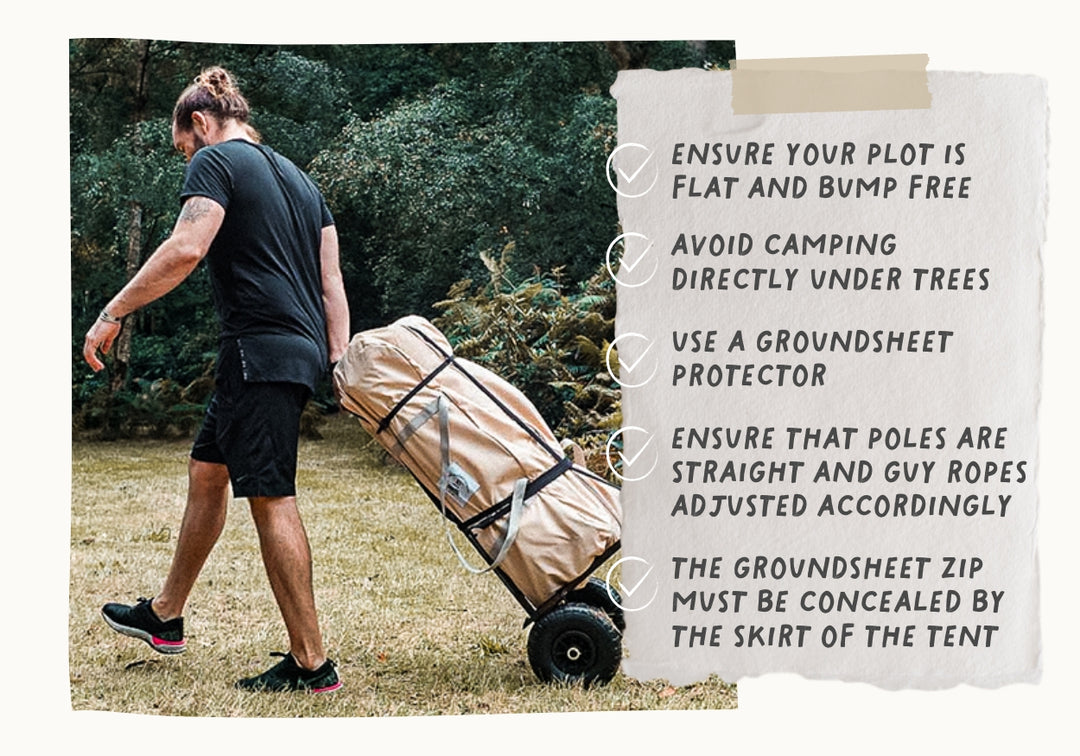
achieving pitch perfection:
- Ensure your plot is flat and bump free, uneven surfaces or hill tops may apply too much uneven tension and result in damage.
- Avoid pitching your tent under trees unless you have a tent protector cover or shelter.
- Pitching your tent on a groundsheet protector will not only guide you when erecting your tent, but will also protect the groundsheet from dirt, water and condensation.
- Before securing down the pegs, zip all doors closed.
- Kinks, creases or an uneven shape suggest that the tension in the tent is uneven. When pitching your tent, ensure psi is 8-10, and guy ropes are adjusted accordingly with equal tension.
- The groundsheet zip must be concealed and hidden by the skirt of the tent.
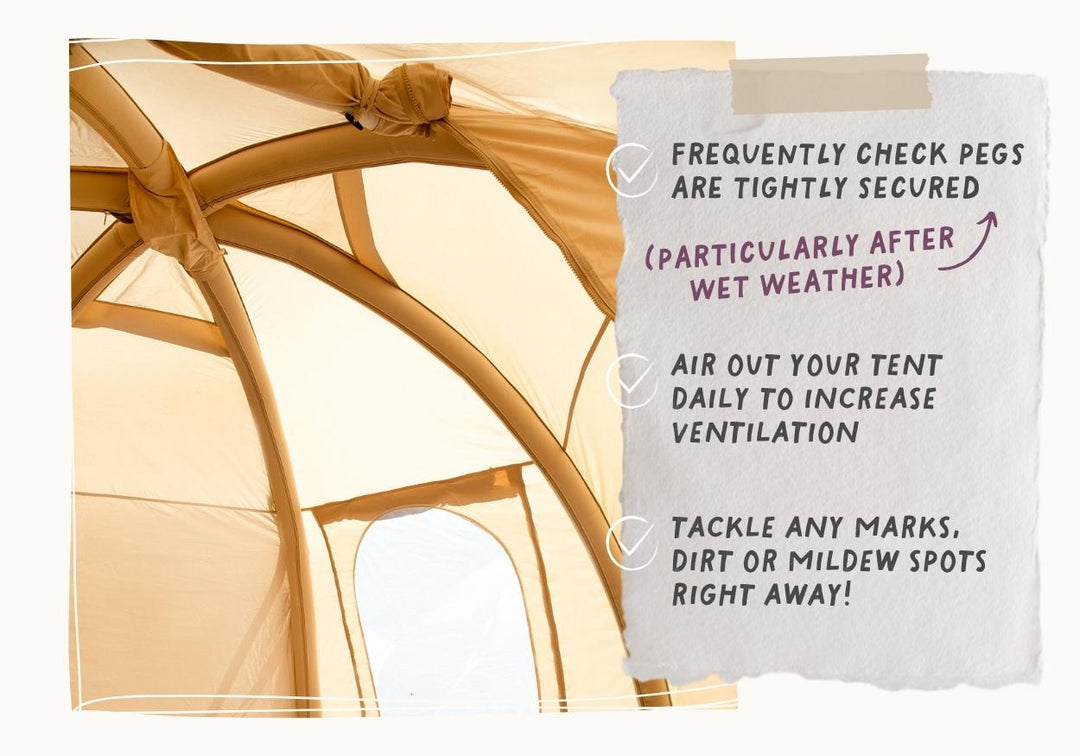
once it's up:
- Frequently check that the pegs are secured tight and have not become loose, this is important
after wet weather as the grounds will become soft.
- Air your tent out daily to increase the ventilation. This can be done by opening the doors, windows (and if applicable) unzipping the groundsheet and rolling up the sides.
- If you spot any marks, dirt or mildew spots, tackle them right away to prevent the issue from staining or spreading.
- Monitor your tents air pressure by plugging in your pump and ensuring the pressure falls within 8-10 PSI.
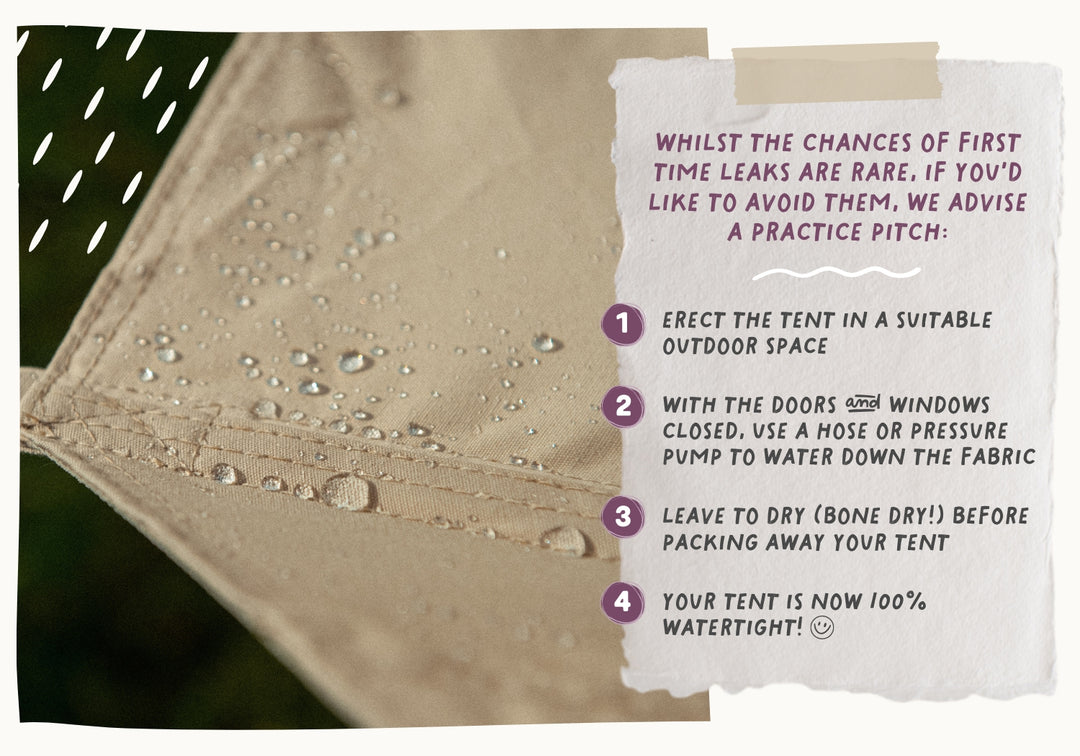
waterproofing & leak prevention
- On the first occasion that your tent experiences a heavy rainfall, although unlikely, you may find small leaks around the seams of the fabric. Do not worry, as this normal!
- Once it has fully dried out, the cotton will naturally shrink and close any holes to ensure your tent becomes completely watertight.
- To completely avoid this when on your camping adventure, you can erect the tent in your garden (if possible) and hose it down with water.
how to pitch a nova air dome tent
Follow the steps below to get your Nova Air Dome pitch-perfect!


popular nova air dome add-ons:


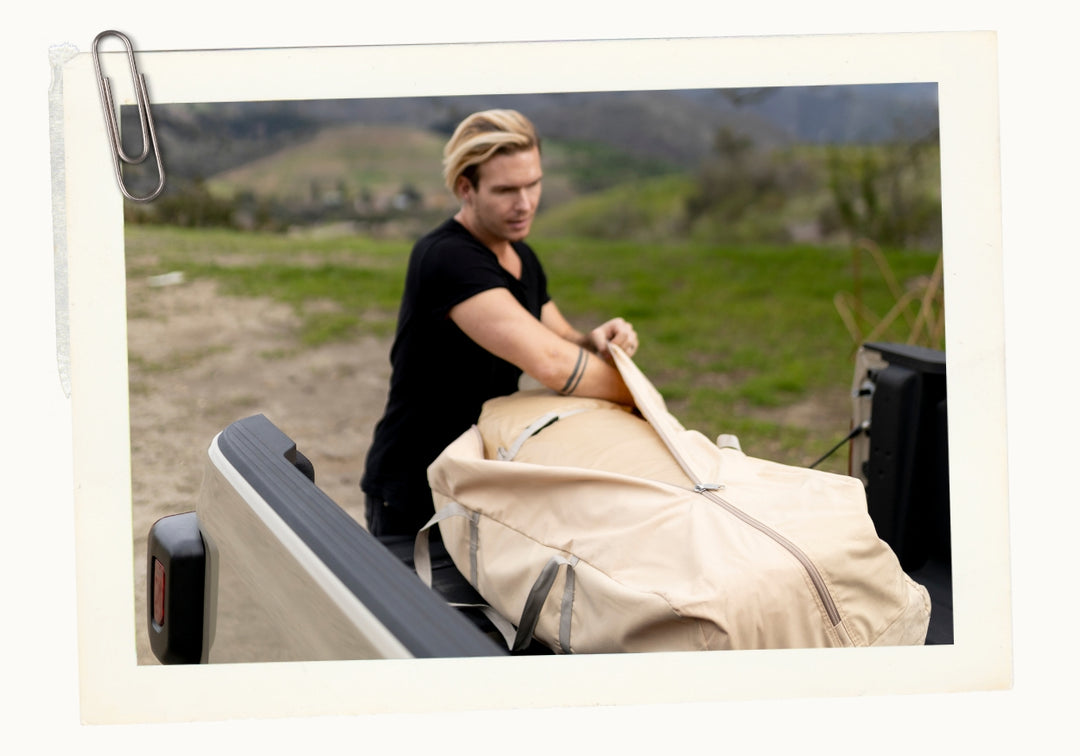
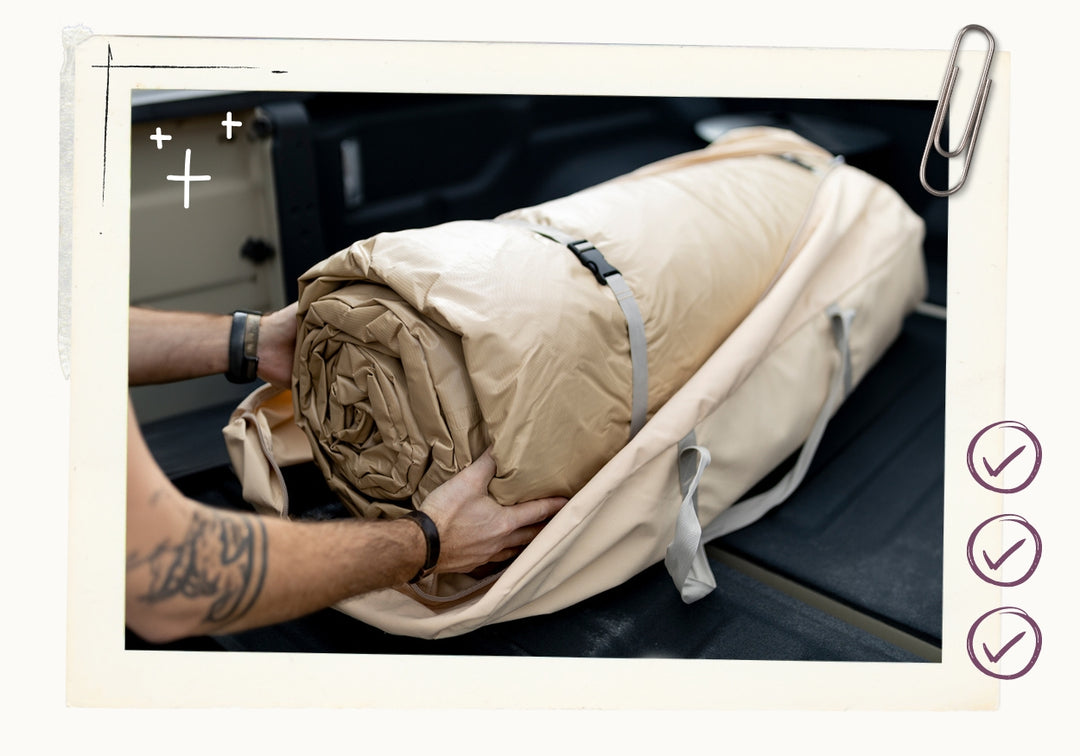
packing & storing your nova air dome tent
It is VITAL that your tent is only stored once it is bone dry. If you store your tent whilst it's damp or wet, it may be affected by mildew. This can result in deterioration of the tent fabric. It's perfectly fine to take down your tent whilst it's still wet. However, you MUST ensure to hang it up to dry within 48 hours.
This can be achieved by hanging the tent on a washing line (or equivalent) and leaving it to air dry. Separating the groundsheet from the tent will speed up this process.
Store your tent away in a dry place, free of damp and excessive condensation. We would advise placing it in a high place, away from rodents!


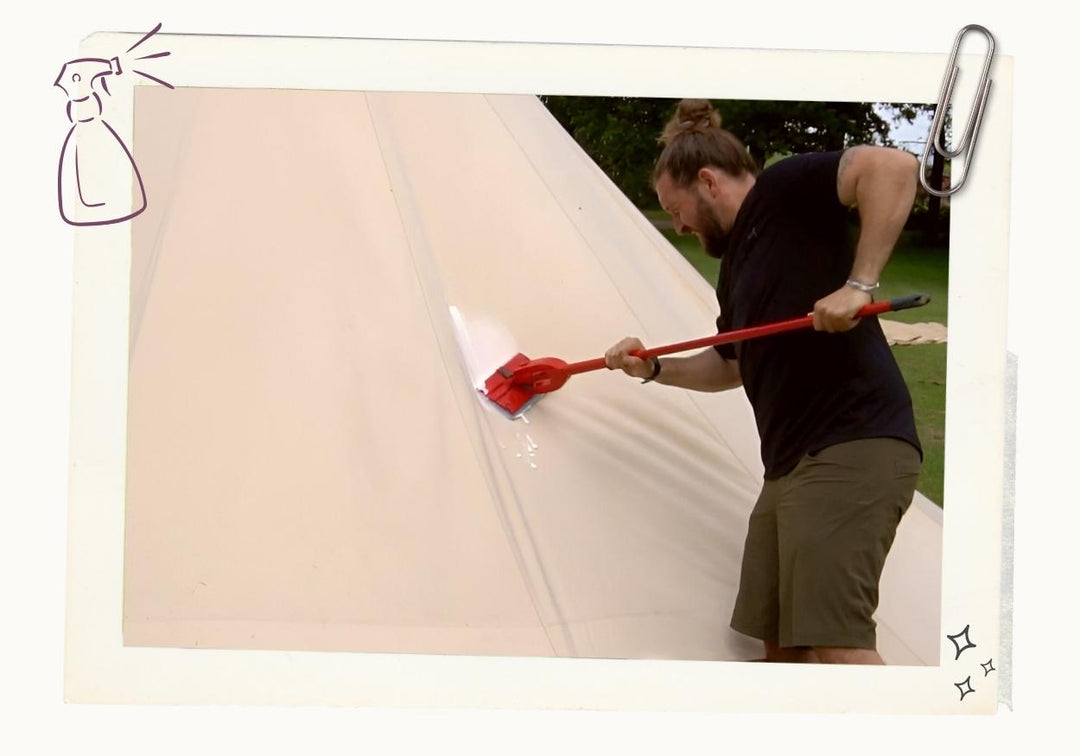
cleaning & reproofing your tent
To remove any dirt, light marks or mud off your tent you will need to
pitch it before cleaning. To tackle marks we advise a extendable mop, a soft brush and sponge to apply either:
- 'Nikwax tent and gear solarwash' - 'Nikwax cotton proof'
Rinse well with clean water after you have left the cleaning agent on for recommended time.
Over time, as a result of heavy use or testing environments, your tent fabric may require a second coating to revive breathability and resistance to the elements, this is called reproofing.


